Frames and planters are indispensable items for those who want to grow their plants at home. Especially for people who live in urban areas, there is not so much space to plant trees. If you are going to grow a clean vegetable area or a beautiful garden at home, please refer to how to make a simple wooden plant supporting frame through the article below.
1. Materials to make a wooden plant supporting frame:
Instead of buying frames and planters at stores, making a plant supporting frame will help us optimize the area of the planting area. You can design your own frames with the right size for the area you want to plant. In addition, making wooden plant supporting frames and planters by yourself also saves considerable costs.

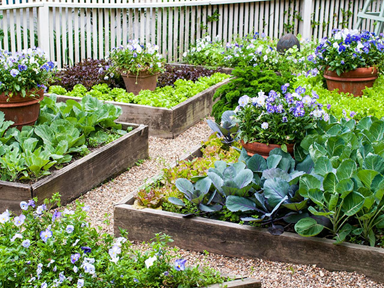
Wooden plant supporting frames are very popular nowadays
To start making wooden plant supporting frames, planters, you need to prepare some basic materials suitable for the area where you want to grow plants. For example, if you want to grow plants in an area of about 3m2 to 5m2, you should prepare some of the following materials:
● 4 wooden panels measuring 100x10x2cm
● 4 wooden panels measuring 200x10x2cm
● 4 wooden panels measuring 5x20x5cm
● 4 wooden panels measuring 5x20x2cm
● Black cloth and thin iron mesh for the frame lining
● Nails, screws, and drills
2. Detailed steps to make a plant supporting frame
The steps of making wooden plant supporting frames and planters are also simple and easy.
2.1. Step 1: Install and shape the frame
First, use 4 prepared 5x20x5cm wooden panels to form a rectangular frame. Then fix 2 wooden panels measuring 100x10x2cm and 2 of 200x10x2cm into 4 wooden panels in 4 corners of the rectangle frame to make the bottom half of the planting area. Please use screws and drills to firmly fix the wooden panels together.
After you have completed the lower part of the frame, you will repeat the same process with the remaining wooden panels to make a complete plant supporting frame. Finally, add 4 wooden panels measuring 5x20x2cm to the inside of the two long sides, helping to fix the frame more firmly.

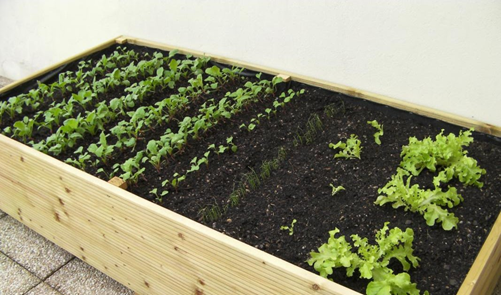
A completed wooden plant supporting frame
2.2 Step 2: Make the lining of the plant supporting frame
The lining of the frame, planter plays a very important role to prevent the soil from falling out. Please use a black cloth to cover the base of the frame, planter and fix it with screws. If the cloth is thick, only one layer is needed, and in the case of a thin cloth, you should cover two layers to ensure steadiness.
After you have fixed the cloth at the base of the frame, planter, continue to use a thin layer of wire mesh to cover the top of the cloth and firmly fix it to the frame. This mesh layer will prevent mice or other animals dig through the bottom of the planters.
When you complete these steps, you will have an extremely quality wooden plant supporting frame. Next, you just need to fill the soil and start planting. You can also divide this wooden frame into cells to make it easier to grow plants or plant trees on the entire surface of the frame.
3. Daim’s plant supporting frames
If you are too busy and do not have time to make your own wooden plant supporting frame, or planters at home, you can check some of Daim's plastic planter products. Daim is currently providing single and double planters which are suitable for different areas, making your planting easier.

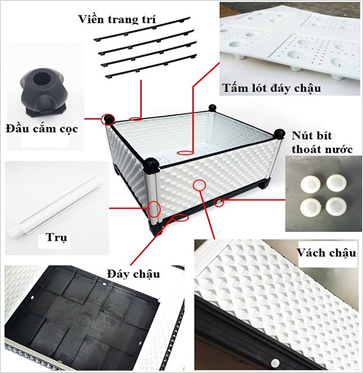
Daim's specialized planter has a special design
Daim’s planters are made from the user-friendly and environmentally friendly materials, so they are safe during use. In addition, with a special design specifically for growing plants, Daim’s planters have good drainage, helping to protect plants under the influence of external factors. Using Daim’s planters will help your plants grow better and more comprehensively.
The above information shares the ways to make a simple home-made wooden plant supporting frame at home. Hopefully, through this article, you have "pocketed" more useful knowledge about making home-made planters.